How to Use Photoshop for Beginners: Complete Tips, Tricks, and Guide
Adobe Photoshop is one of the most popular photo editing software worldwide. With its advanced features, Photoshop enables you to edit photos professionally, create graphic designs, and much more. This article provides a basic guide for beginners to help you get started with Photoshop.
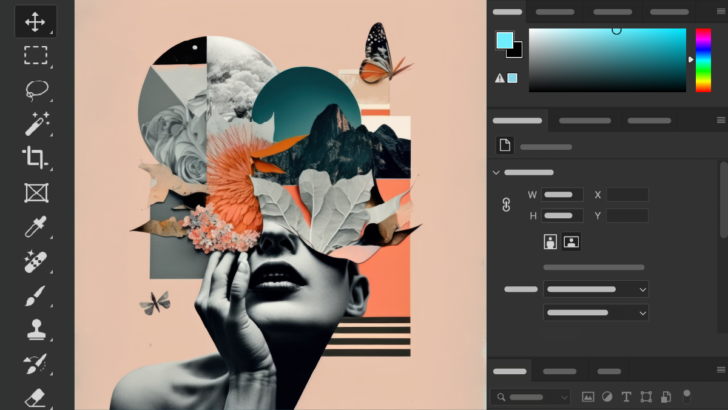
Step One: Understanding Photoshop’s Interface
- Toolbar: Contains essential tools like selection, brush, eraser, and more.
- Layers Panel: Located on the right, where you manage layers.
- Menu Bar: Found at the top, giving access to features like File, Edit, and Filter.
Pro Tip for Beginners: Don’t hesitate to explore! Click on the toolbar icons to learn their functions.
Step 1: Opening a File
- Click File > Open.
- Choose an image from your computer.
- The image will appear on the main canvas.
Note: Photoshop supports various formats like JPEG, PNG, PSD, and TIFF.
Step 2: Basic Edits
- Crop Tool: To trim parts of the image.
- Select the crop tool, drag over the desired area, and press Enter.
- Brightness/Contrast: To adjust lighting.
- Go to Image > Adjustments > Brightness/Contrast.
Step 3: Adding Text
- Select the Type Tool (T icon) in the toolbar.
- Click anywhere on the image, then type your desired text.
- Adjust the font, size, and color using the options at the top of the screen.
Step 4: Working with Layers
Layers are the backbone of Photoshop. They allow you to separate image elements, making editing more manageable.
- Add a new layer by clicking Layer > New > Layer.
- Use the eye icon to hide or display specific layers.
Tips and Tricks for Beginners
- Use Shortcuts: Learn key combinations like Ctrl+Z to undo.
- Save in PSD Format: To ensure your edits can be modified later.
- Explore Filters: Go to Filter > Filter Gallery to experiment with exciting effects.
#PhotoshopTips #PhotoshopTutorial #GraphicDesign #PhotoEditing #PhotoshopForBeginners #AdobePhotoshop #LearnPhotoshop
