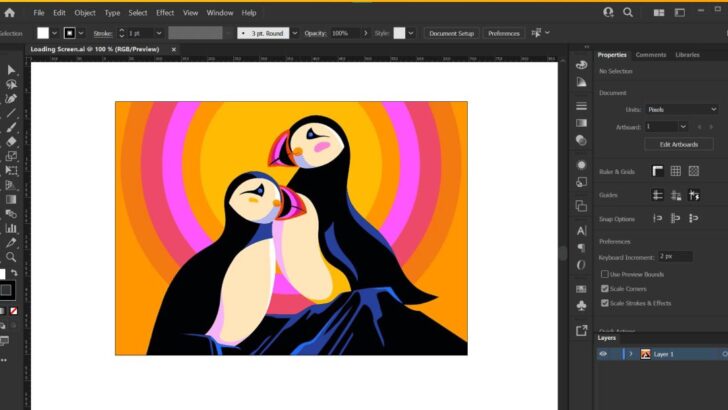
Vector design is a fundamental aspect of graphic design, allowing artists to create clean, scalable, and versatile graphics. While Adobe Illustrator is often the go-to software for vector work, Photoshop also offers powerful tools to create stunning vector designs. In this article, we will explore essential tips and techniques for mastering vector design in Photoshop.
Why Use Photoshop for Vector Design?
While Photoshop is primarily a raster-based program, it offers robust vector design tools that allow for precision and scalability. Some benefits of using Photoshop for vector design include:
- Flexibility: Photoshop’s integration with other creative tools makes it versatile for different design projects.
- Layer Effects: Apply layer styles, textures, and gradients to vector objects for added depth.
- Ease of Use: Familiarity with Photoshop’s interface and tools can make the learning curve smoother for those already skilled in raster-based editing.
Essential Tools for Vector Design in Photoshop
1. The Pen Tool (P)
The Pen Tool is one of the most important tools for creating vector shapes. With the Pen Tool, you can create precise paths that can later be filled or stroked to create custom shapes.
- Use for: Drawing straight lines, curves, and intricate custom shapes.
- Tip: Practice using the Pen Tool to get comfortable with placing anchor points and adjusting the direction handles to manipulate curves.
2. Shape Tools (Rectangle, Ellipse, Polygon, etc.)
Photoshop comes with several pre-defined shape tools, such as rectangles, circles, and polygons, which are ideal for creating basic vector shapes.
- Use for: Creating geometric shapes quickly and easily.
- Tip: Hold the Shift key while drawing to create perfect squares or circles.
3. Pathfinder Panel
The Pathfinder Panel helps combine, subtract, and intersect vector shapes to create more complex designs.
- Use for: Merging multiple vector shapes, trimming areas, and creating custom designs.
- Tip: Explore options like Unite, Intersect, and Exclude to combine different shapes and create new ones.
4. Vector Masks
Vector Masks allow you to hide parts of a shape or layer non-destructively.
- Use for: Creating smooth edges and making adjustments to shapes without permanent changes.
- Tip: Combine vector masks with layer styles for added flexibility in your designs.
Techniques for Creating Stunning Vector Graphics
1. Working with Paths and Selections
Paths are the backbone of vector design. Once you’ve created a path with the Pen Tool or Shape Tool, you can convert it into a selection to fill with color, patterns, or gradients.
- Use for: Creating custom vector graphics with precise coloring.
- Tip: Use the Direct Selection Tool (A) to move anchor points and adjust the shape after drawing.
2. Apply Gradients for Depth and Dimension
Gradients are an excellent way to add depth and dimension to your vector designs. Photoshop allows you to apply linear, radial, and angle gradients to vector shapes.
- Use for: Adding smooth color transitions to make your designs pop.
- Tip: Experiment with gradient settings like opacity and blending modes for more interesting effects.
3. Combine Raster and Vector
One of Photoshop’s strengths is its ability to combine raster and vector elements seamlessly. This allows for creative freedom, where you can use vector shapes for clean lines and add raster textures or images for added detail.
- Use for: Designing logos, posters, or illustrations that require both sharp vector graphics and rich textures.
- Tip: Use vector layers for the main design and add raster elements as separate layers for flexibility.
4. Create Custom Brushes
Photoshop also allows you to create custom vector brushes for artistic designs. Vector brushes give your artwork a hand-drawn or painted feel while maintaining scalability.
- Use for: Adding unique, artistic elements to your vector designs.
- Tip: Experiment with different brush settings and textures to achieve different looks.
Optimizing Vector Graphics for Use
Once your vector design is complete, it’s important to optimize it for use in various formats and media:
- Export as SVG: If you plan to use your vector design on websites or apps, export it as an SVG file for maximum scalability without losing quality.
- Convert to Smart Objects: If you’re working with raster images alongside vectors, convert your vector designs to Smart Objects to keep them editable and scalable.
- Use Layers and Grouping: Organize your vector layers into groups for easy editing and management.
Conclusion
Mastering vector design in Photoshop can take your graphic design skills to the next level. With the right tools and techniques, you can create beautiful, scalable vector art that can be used in a variety of applications. Whether you’re designing logos, icons, or illustrations, Photoshop offers all the features you need to create professional-quality vector graphics.
#VectorDesign #PhotoshopDesign #VectorArt #GraphicDesignTips #AdobePhotoshop #CreativeDesign #PhotoshopTutorial
