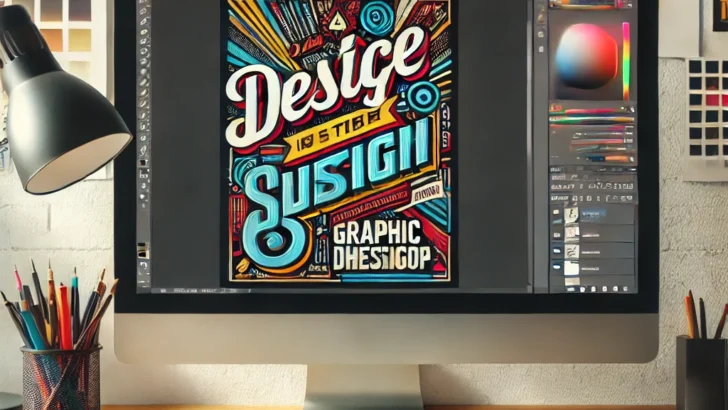
Creating a poster in Photoshop is an exciting opportunity to showcase your creativity while learning valuable design techniques. Whether you’re designing a poster for an event, promotion, or personal project, Photoshop provides powerful tools to help you bring your vision to life. In this guide, we will walk you through the essential steps to design an eye-catching and professional poster.
Step 1: Set Up Your Canvas
The first step in any poster design is creating a new document with the right dimensions. Here’s how to do it:
- Open Photoshop and go to File > New.
- Set the Width and Height for your poster. Standard poster sizes are usually 24 x 36 inches (for large posters) or 18 x 24 inches (for smaller ones).
- Set the Resolution to 300 pixels/inch for high print quality.
- Choose CMYK Color Mode if you plan to print the poster.
Step 2: Design the Background
The background sets the tone for your entire poster, so it’s essential to make it impactful.
- Solid Color Background: Choose a solid color from the Color Picker to keep things simple and bold.
- Gradient Background: To add depth, create a gradient by going to Layer > New Fill Layer > Gradient.
- Image Background: If you want to use an image, simply drag it onto your canvas and resize it to fit the dimensions.
Step 3: Add Text and Typography
Typography is a critical element of poster design. Make sure your text stands out.
- Select the Text Tool (T) and click on your canvas.
- Type in your headline, subtitle, or any other text you need.
- Play with font styles, sizes, and spacing to create a visually appealing layout. Use bold, italic, or custom fonts to highlight key information.
- For emphasis, try using contrasting colors for the text to make it pop against the background.
Step 4: Use Shapes and Graphics
To add visual interest, incorporate shapes, lines, or illustrations into your design.
- Use the Shape Tool to create circles, rectangles, or other geometric shapes to frame your text or add decorative elements.
- Use Layer Styles (right-click on a layer > Blending Options) to add shadows, strokes, or glows to your graphics for extra depth.
- You can also import custom graphics or icons relevant to your theme.
Step 5: Incorporate Images or Photos
Images help reinforce the message of your poster. To insert an image:
- Go to File > Place Embedded and select an image from your computer.
- Resize and position it using Ctrl + T (Cmd + T on Mac).
- To make the image blend better with your design, experiment with blending modes or use the Layer Mask tool to remove unwanted parts of the image.
Step 6: Add Finishing Touches
To make your poster truly stand out, consider adding finishing touches like:
- Filters: Apply subtle filters like Gaussian Blur or Noise to give texture to your background or images.
- Contrast and Brightness Adjustments: Go to Image > Adjustments > Brightness/Contrast to tweak the overall look of your poster.
- Alignment: Ensure all elements are aligned properly using Photoshop’s Guides and Smart Guides (View > Show > Guides).
Step 7: Save and Export
Once your design is complete, it’s time to save and export your poster.
- Save your work as a PSD file to retain layers and make future edits.
- To export for printing, go to File > Save As, and select PDF or TIFF for high-quality print.
- For web use or sharing, export the poster as a JPEG or PNG under File > Export > Export As.
Conclusion
Creating a professional poster in Photoshop is a process that combines creativity, technical skills, and attention to detail. By following these steps, you can design a visually appealing and impactful poster that will grab attention. Remember, the key to a successful poster is a combination of strong typography, striking visuals, and a clear message.
#PosterDesign #PhotoshopTips #GraphicDesign #DesignInspiration #CreativeProcess #Typography #AdobePhotoshop #DesignTutorial #PosterCreation #DesignTips #VisualDesign #PosterArtwork #PhotoshopDesign #CreativeWorkspace
